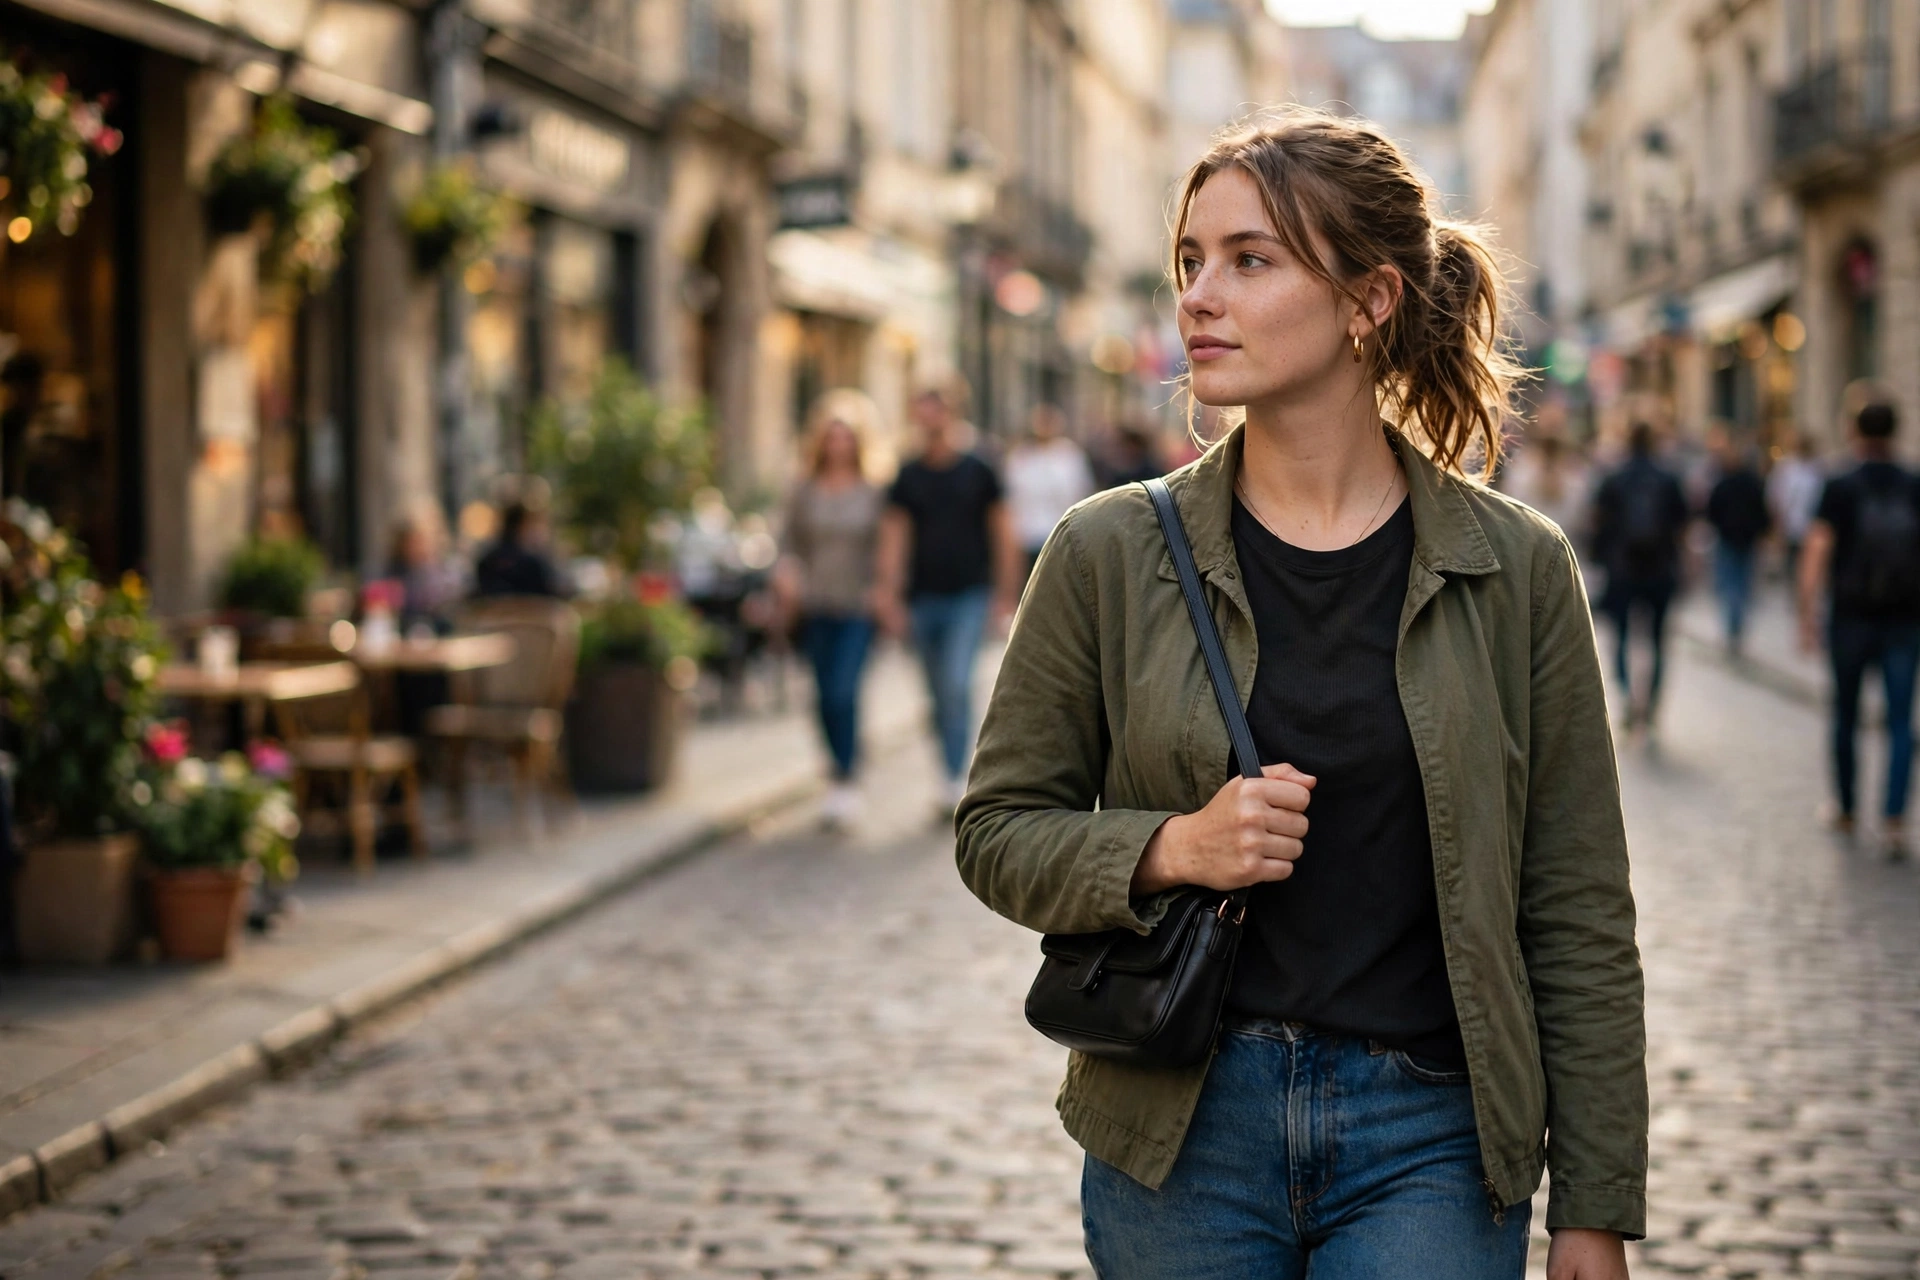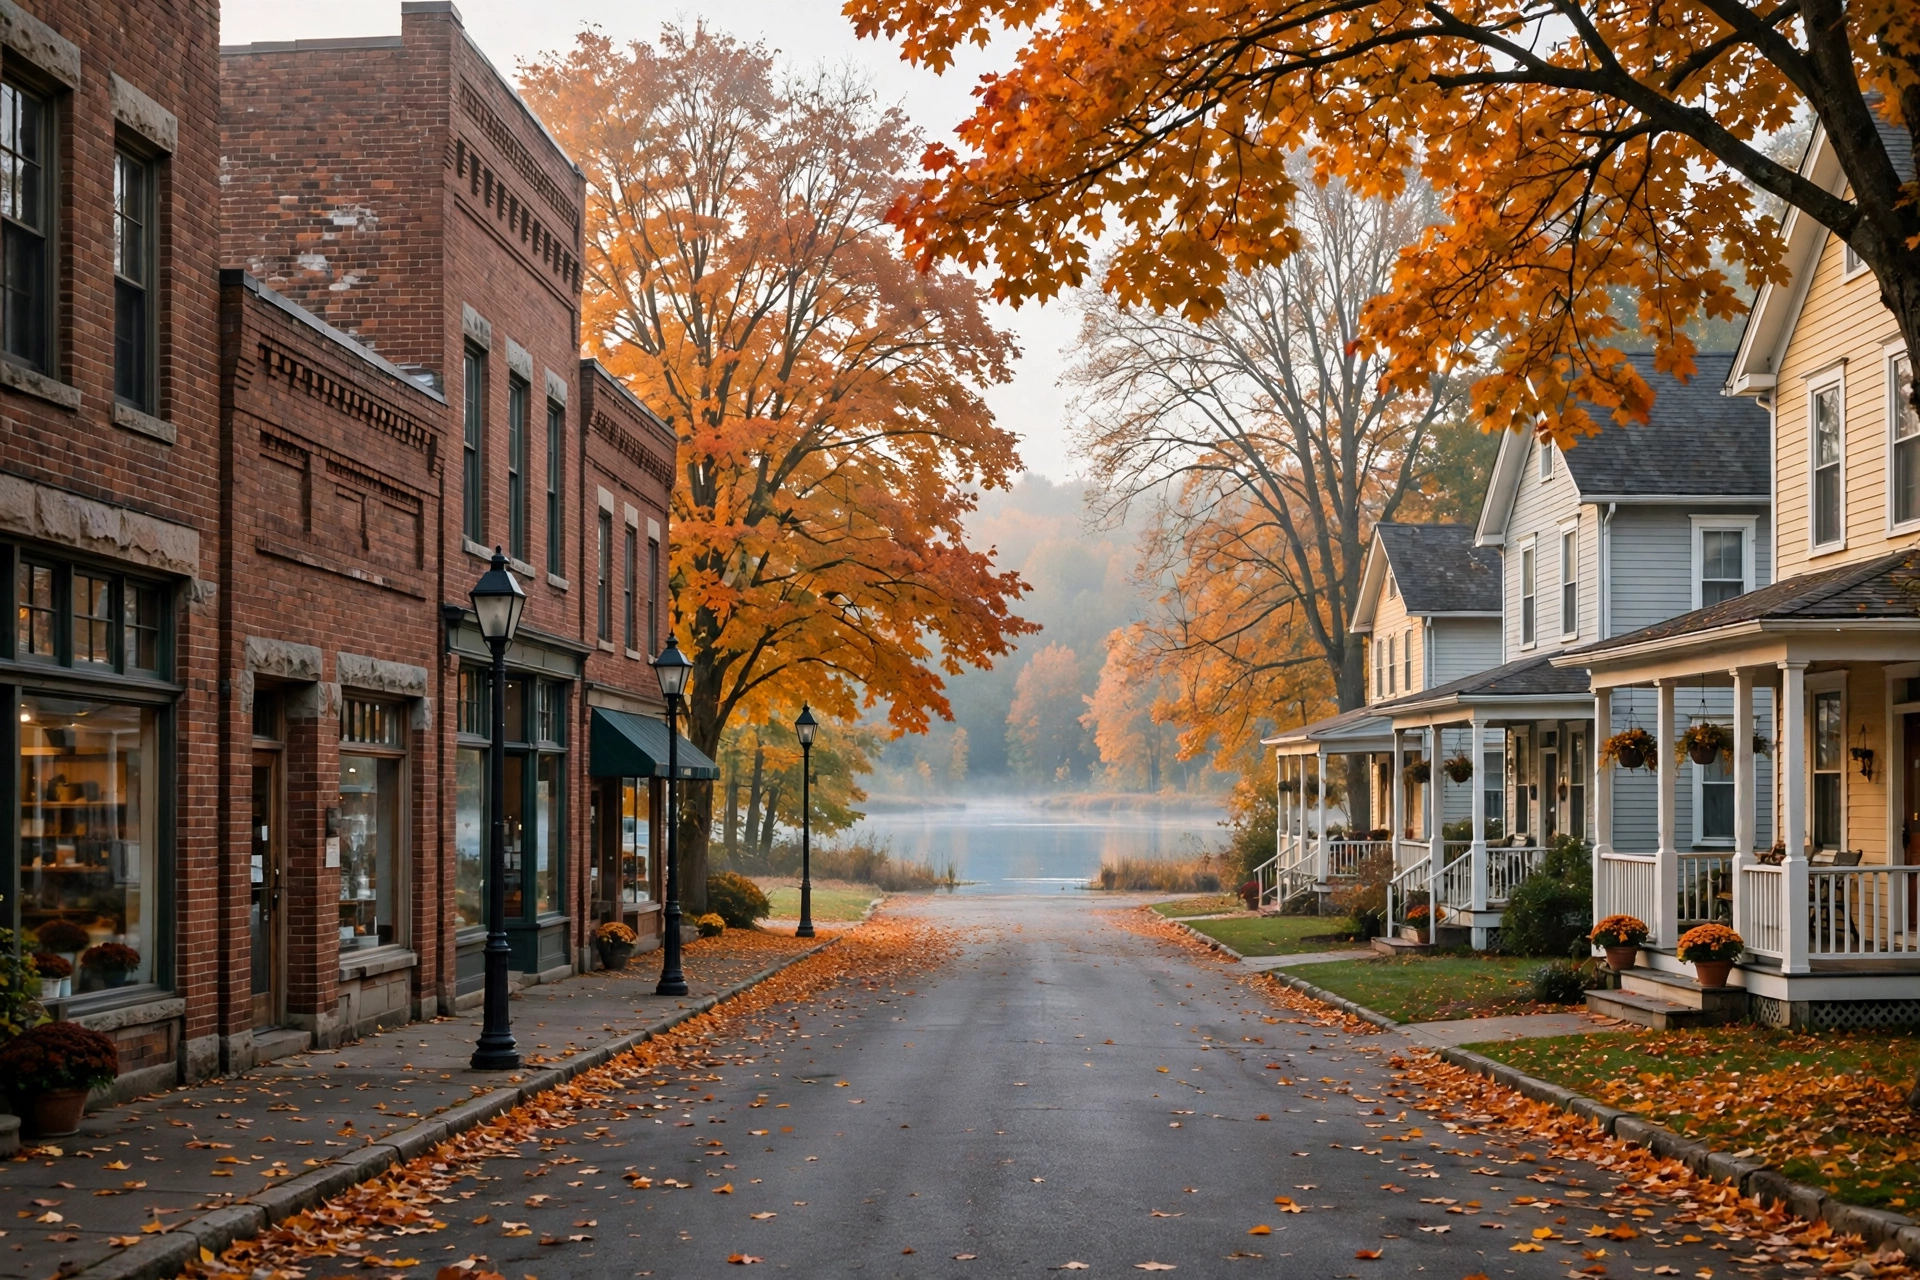

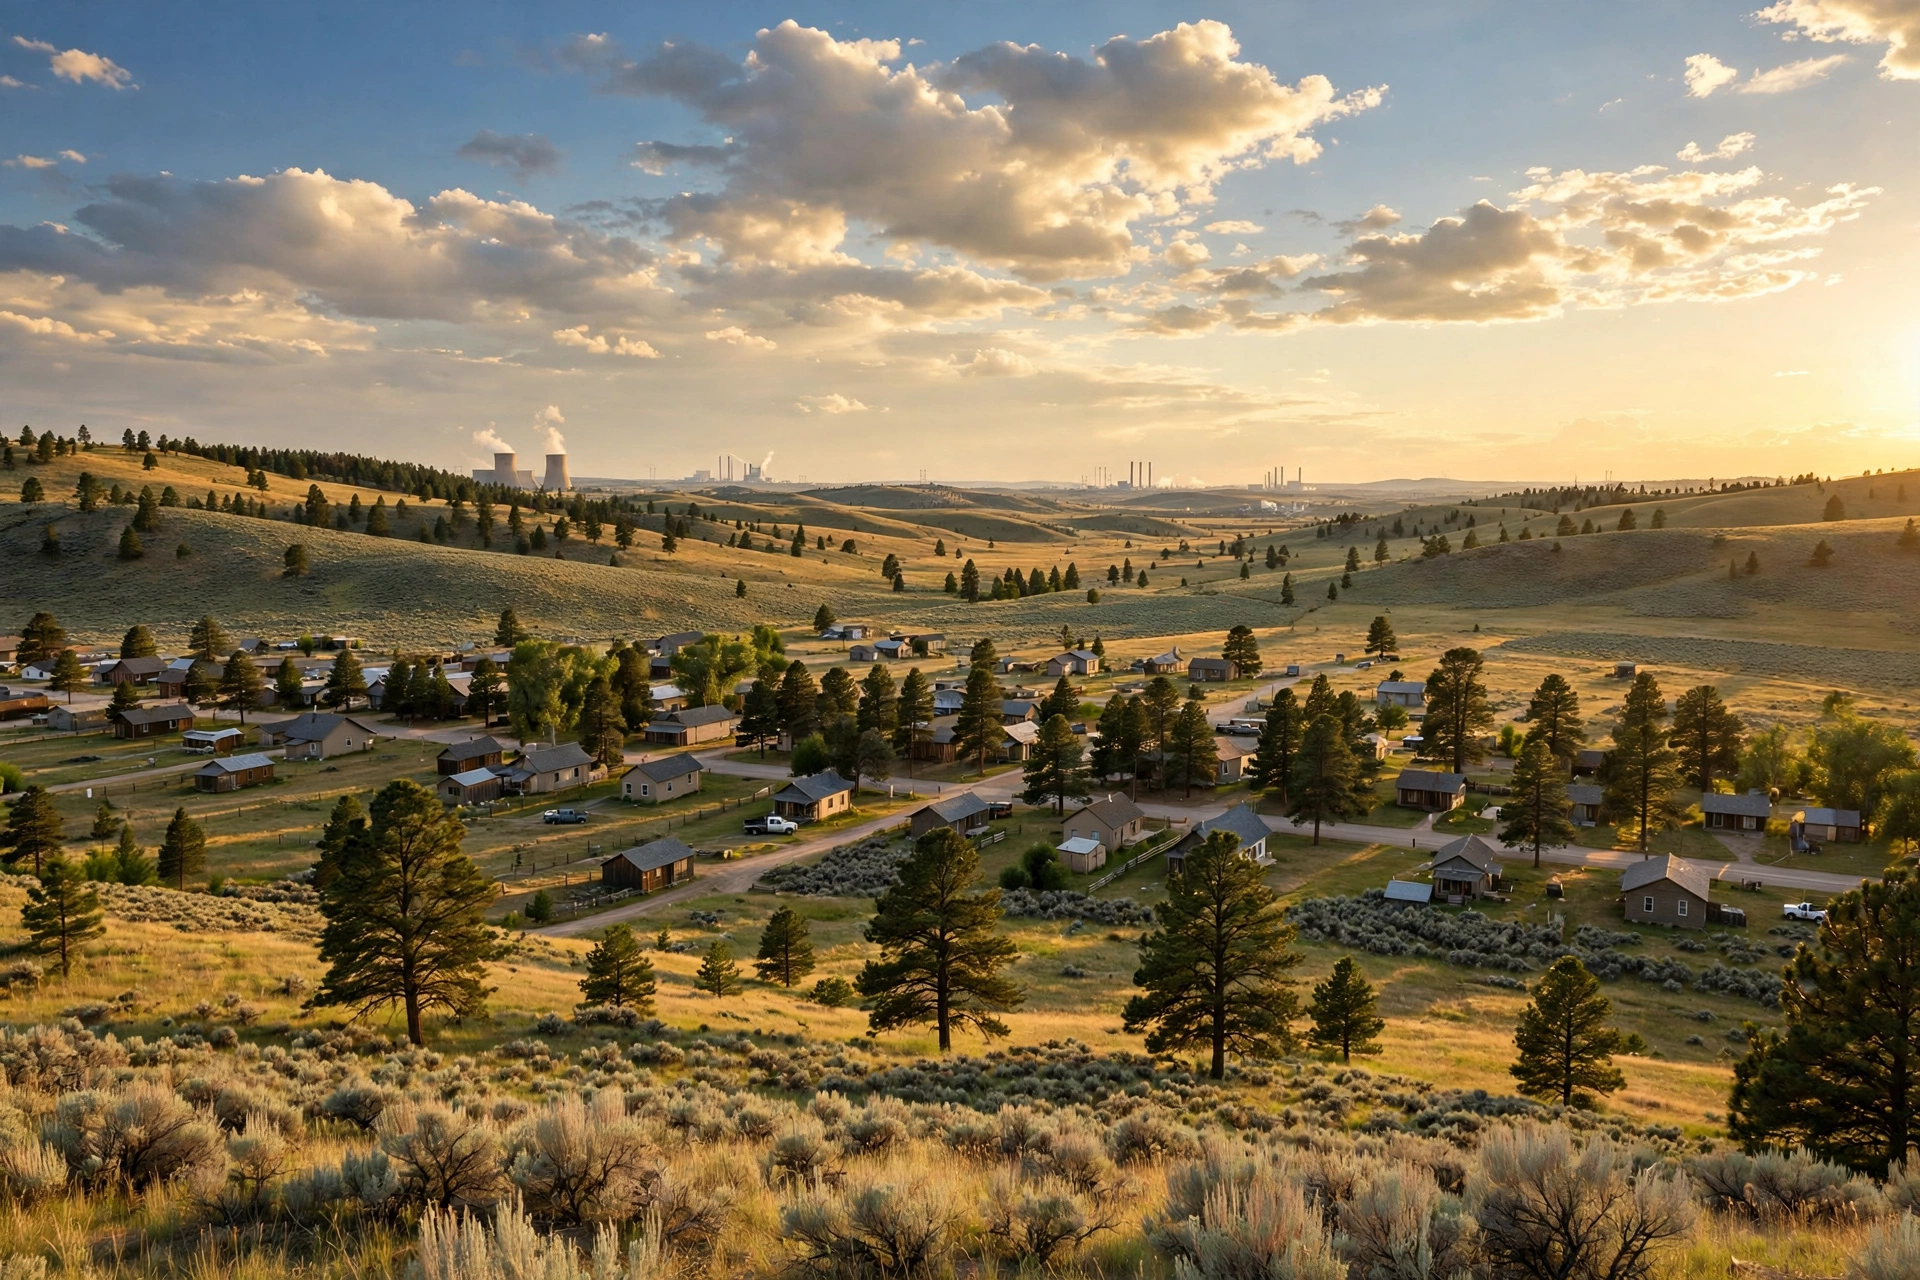
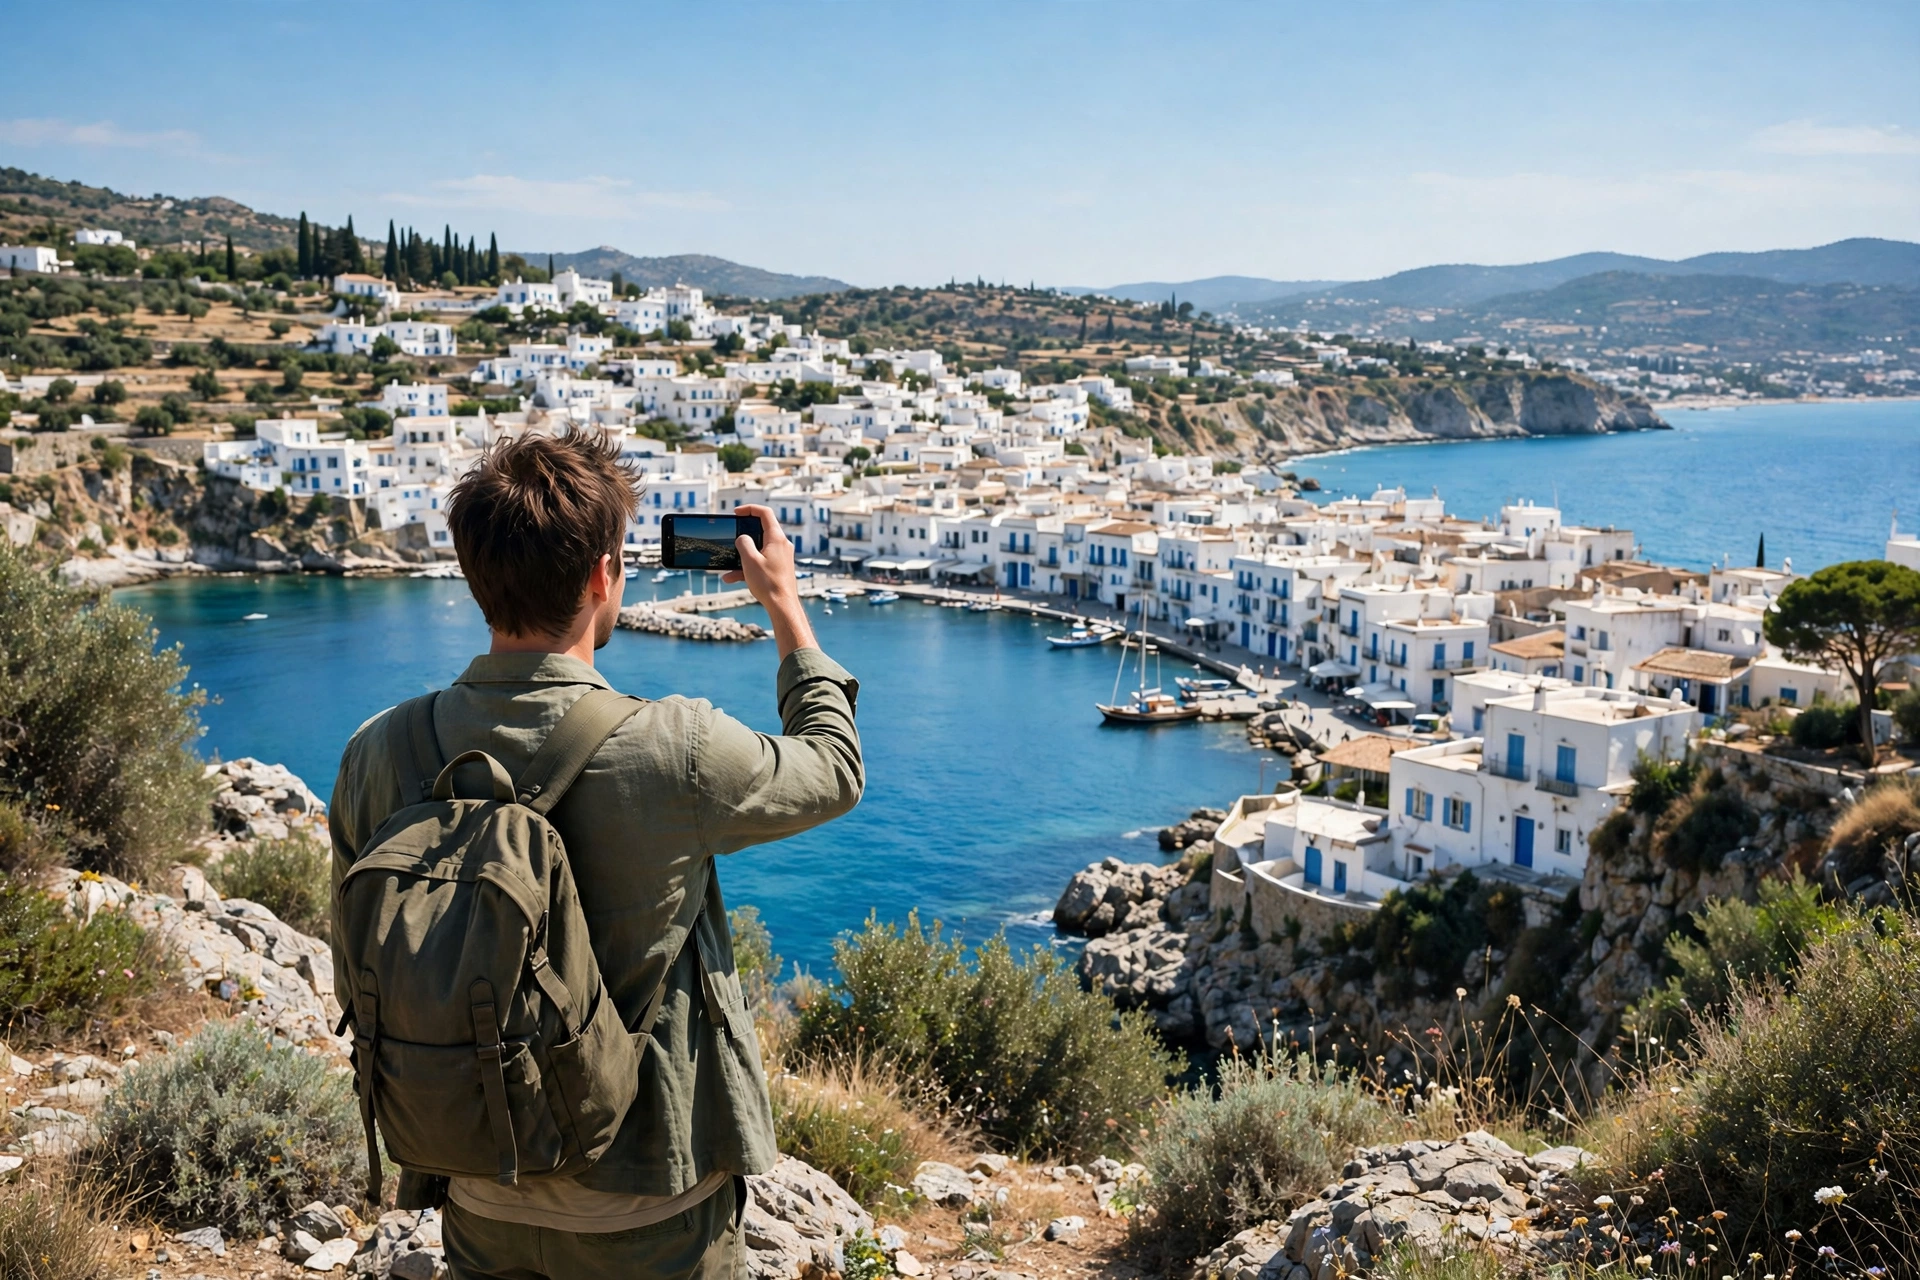
You are standing on a viewpoint above a coastal town, the sea glittering below and white buildings tumbling down the hillside. You pull out your phone, take a quick photo, and check the screen. Somehow the scene that looked breathtaking in front of you now looks flat, washed out, and ordinary. The problem is not your phone. Modern phones take remarkable photos. The difference between a forgettable snapshot and a photo you will actually want to keep comes down to a few small habits.
Start With the Settings That Actually Matter
Before you worry about composition or editing, spend five minutes setting up your phone camera properly. First, turn on the grid lines in your camera settings. The grid divides your screen into nine equal parts and makes it much easier to line up horizons and place your subject off-centre.
Second, clean your lens. Phones live in pockets and bags, and a smudged lens is the most common reason travel photos look hazy, so a quick wipe on a clean cloth before you start shooting makes a visible difference. Third, check that you are shooting at your phone’s highest resolution and that HDR is on. HDR blends several exposures into one shot, which helps when you are photographing bright skies and shadowed streets at the same time.
Light Is Your Best Friend
Good travel photography is mostly about light. The same street can look dull at noon and beautiful an hour before sunset, when the light turns warm and shadows grow long. Whenever you can, plan your photo walks for the early morning or the late afternoon, when the light is softer and popular viewpoints are usually quieter too.
At midday, when the sun is harsh and directly overhead, look for shade. A shaded alley, a covered market, or the shadow side of a building will give you softer light and more detail than a sun-blasted square. If you are photographing a person, turn them so the sun is behind them and slightly to one side, then tap their face on the screen to set the exposure. Your phone will brighten the subject instead of the sky, giving you a pleasing rim of light rather than squinting eyes and harsh shadows.
Do not be afraid of overcast days either. A cloudy sky acts like a giant softbox, spreading even light across a scene, and colours often look richer in it.
Compose Like You Mean It
Most travel snapshots fail because the photographer pointed the phone at the subject and pressed the button without thinking about what else is in the frame. Check the edges of the screen for anything distracting, like a bin, a parked car, or a stranger’s elbow. Step closer instead of relying on digital zoom, which only crops the image and loses detail.
Use the rule of thirds as a starting point: place your horizon on one of the horizontal grid lines rather than in the middle of the frame, and put your main subject where two grid lines cross. Then look for leading lines, a road, a pier, a row of arches, anything that draws the eye from the foreground toward the subject. A little foreground, a fence, some flowers, a café table, adds depth to the shot.
Finally, take the same scene from two or three different angles. Crouch low, step to the side, or find a higher vantage point. The first angle you try is rarely the best one.
Plan Your Shots Around Your Day
Great travel photos rarely happen by accident. Check when the sun rises and sets at your destination, and note which viewpoints face east for sunrise and west for sunset. If your trip involves several stops, planning your route ahead of time helps you arrive at the best viewpoints when the light is right — our guide to planning a road trip itinerary with multiple stops shows how to space out driving days so you are not rushing past the places worth photographing.
Build in unhurried time at the places that matter most to you. A viewpoint you visit for ten minutes gives you one rushed shot; the same viewpoint with half an hour to spare lets you wait for the light to change and for people to clear out of the frame.
People, Food, and Details Tell the Story
A travel album made only of wide landscapes starts to look the same after a while. The photos that bring a trip back to life are usually the smaller ones: your travel partner laughing at a market stall, the plate of food you had never tried before, the pattern of tiles on a staircase, a street sign in a language you cannot read. Take detail shots between the big views. They fill the gaps in your story, and months later they are often the pictures you love most.
When photographing people, ask first, especially in markets, religious sites, and residential neighbourhoods. A smile and a quick gesture toward your camera is enough in most places. For candid shots of your own travel companions, catch them doing something rather than posing: walking, looking at a menu, pointing at something across the street. Natural moments beat stiff smiles every time.
Small Habits That Keep Your Photos Organized
On a trip, it is easy to come home with two thousand photos and no idea which ones matter. Spend five minutes each evening doing a quick cull. Delete the duplicates, the blurry shots, and the near-identical versions of the same scene. Keep only the best one or two of each moment.
Back up your photos every night, ideally in two places: a cloud service and a second copy, such as a laptop or an external drive. Phones get lost, stolen, and dropped in water more often on holiday than at home. Before you leave home, make sure you have enough storage free, and bring a small power bank so a dead battery never ends your photo day early.
Edit Lightly on Your Phone
A little editing goes a long way, and you do not need a complicated app. Start with the basics: straighten the horizon, crop out distractions at the edges, then adjust exposure and warmth slightly. Most travel photos benefit from a small lift in shadows and a touch less brightness in the sky. Heavy filters and over-saturated colours might look striking for a day, but they age badly.
If you enjoy editing, learn one app properly rather than collecting five. Your phone’s built-in editor already handles most of what a travel photo needs. Whatever you use, edit with the real place in mind: the goal is to make the photo look like the scene you actually saw.
Common Mistakes to Avoid
The most common mistake is shooting everything from standing eye height. Vary your position and your photos will immediately look more interesting. Another is forgetting the background: a beautiful portrait is ruined by a bin or a signpost growing out of someone’s head. Put the phone down sometimes too. The best photos come from photographers who actually noticed the place first.
FAQ
Do I need a separate camera app to take good travel photos?
No. Your phone’s default camera app is more than capable for travel photography. Third-party apps can add manual controls, but the default app is faster when a moment is passing quickly.
Should I shoot in portrait or landscape?
Use landscape for scenery, streets, and wide views, and portrait for people and tall subjects like towers and trees. Turn the phone to match the shape of your subject rather than leaving it in one orientation out of habit.
How do I take good photos in low light with a phone?
Hold the phone steady with both hands, lean against a wall or railing if you can, and use your phone’s night mode. Avoid the flash, which flattens faces and kills the atmosphere of a scene. Take a few shots and keep the sharpest one.
Final Thoughts
You do not need expensive gear to photograph your travels well. A phone, a clean lens, decent light, and ten seconds of thought before each shot will take you further than any camera upgrade. Learn the settings once, pay attention to light, compose with intent, and back your photos up every night — do that on your next trip and you will come home with photos that actually do the journey justice.